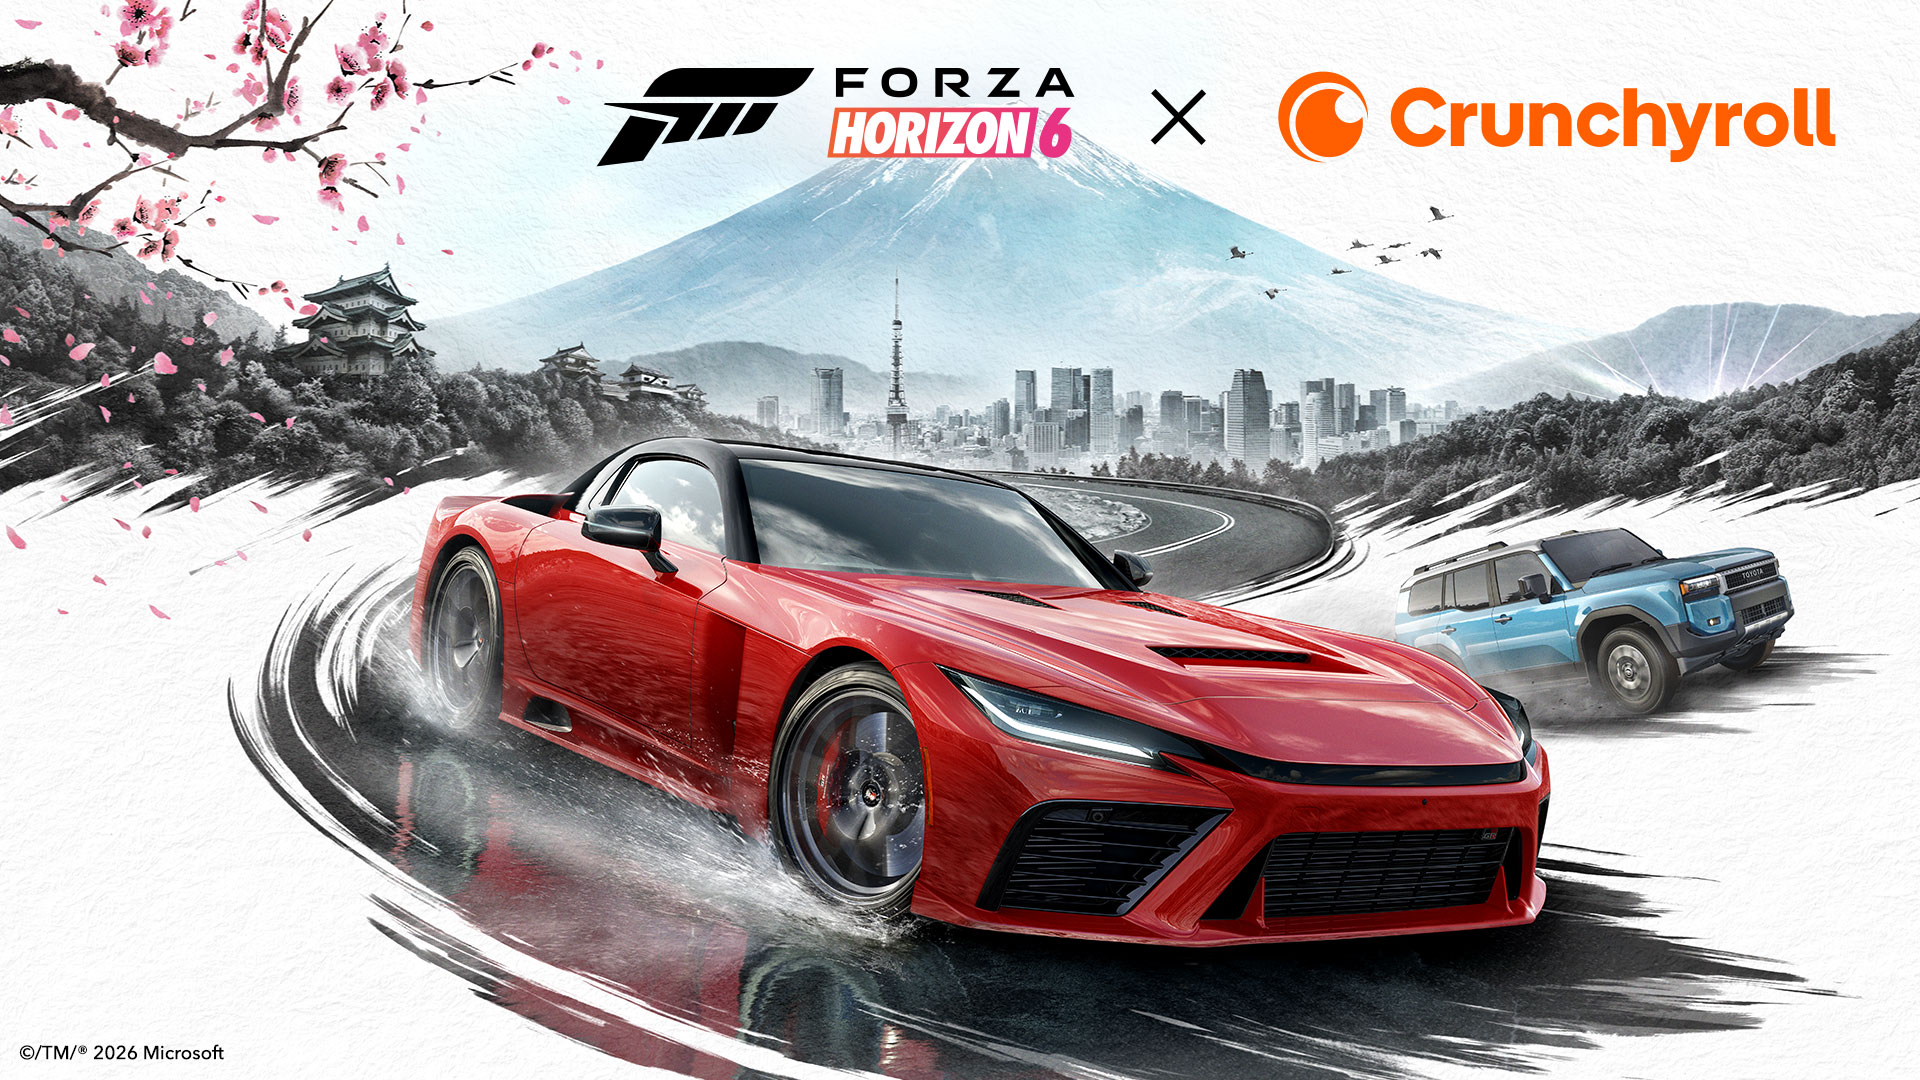
Alright so you just fired up FH6 for the first time and you're staring at the map screen like ... now what? Been there. This game throws a lot at you — hundreds of icons, a dozen different event types, upgrade menus that look like spreadsheets, and a credit system that feels stingy until you understand it. Here's the thing: FH6 is actually way more forgiving than FH5 was at launch. They fixed a lot of the annoying progression bottlenecks. But it still doesn't hold your hand past the first showcase event. So let me walk you through the stuff that actually matters, from someone who's been playing this series since it was a circuit racer on the original Xbox.
Your First Hour — Don't Overthink It
What to Do in Your First 10 Hours — Hour by Hour
This is the timeline I wish I'd followed. Ignore the million icons on your map and do things in roughly this order. It'll save you from the "I have 87 events available and no idea what to do" paralysis.
| Hour | What to Do | What You Get | Don't Skip Because |
|---|---|---|---|
| 0 - 1h | Intro races + all 5 showcase events | ~5 free cars, first Horizon site unlocked | Free cars worth ~1M CR, and you can't access the full map until the first site is open |
| 1 - 3h | Road racing series — complete at least 8 road races | ~150K CR, 8-12 wheelspins, level 15-20 | Road racing builds fundamental skills. Dirt and cross country will feel impossible without basic car control first |
| 3 - 4h | Buy the Silvia K's 1989 from the Autoshow (35K CR) | Best budget drift car, opens drift zones | Drift zones are everywhere and give massive skill points. This 35K car pays for itself in about 10 minutes of drifting |
| 4 - 5h | First Festival Playlist event + check weekly challenges | Exclusive car, Forzathon points, wheelspins | Miss a week and that exclusive car might not come back for 6+ months. Set a weekly reminder, I'm not joking |
| 5 - 6h | Smash every XP board and fast travel board you drive past | ~10-15 levels, reduced fast travel cost | Each XP board is 5K XP. There are 200 of them on the map. That's a million free XP just for driving around — you're literally driving past free levels |
| 6 - 8h | Dirt racing series — 6-8 dirt events with an AWD rally build | ~120K CR, rally tire unlocks, dirt racing confidence | Dirt racing teaches throttle control in a way road racing never will. Plus about 40% of all events involve some kind of loose surface |
| 8 - 9h | Turn off stability control, then traction control over 2-3 races | +15-25% difficulty bonus on every race | This is the single biggest credit-earning change you can make. A +25% bonus over 100 races is hundreds of thousands of extra credits |
| 9 - 10h | Unlock the Goliath (level 20) + run it once in whatever your fastest car is | ~40-50K CR, ~30K XP, lap time benchmark | The Goliath is the best credit-per-minute race in the game. One run gives you a baseline — then you work on beating your own time for more credits per hour |
The Different Race Types (Some Are Chaos, Some Are Chill)
🛣️ Road Racing
Your bread and butter — paved roads, normal racing lines, nothing weird. A decent all-rounder works fine. If you're coming from any other racing game, this is what you expect. Most events are road races, and honestly you could spend your first 5 hours here and be perfectly happy. Key tip: brake BEFORE the corner, not in it. Trail braking (light brake while turning in) works in FH6 way better than FH5 — they improved the physics model for it. Car recommendation: anything AWD in A class works, but the Audi RS3 and BMW M2 are particularly forgiving on road surfaces.
Most Common🏔️ Dirt Racing
Gravel, mud, loose stuff. Cars slide around way more than you'd think. Look, here's what I learned the hard way: rally cars and AWD builds are the meta here — RWD on dirt is basically asking to spin out on every corner. But the real secret nobody mentions is tire choice. Rally tires make a massive difference vs stock tires on dirt — way more than power upgrades do. Prioritize tires before horsepower on your dirt builds. The handling feels completely different from road, you'll need about 3-4 races before it clicks. Ford Focus RS and Subaru WRX STI (2004) are excellent starter picks.
Rally Cars Best🌵 Cross Country
Pure chaos. Jumps, water crossings, no real road to follow — just a general direction and hope. Big trucks and SUVs are almost mandatory. The Ford Raptor and Jeep Trailcat are the easy-mode picks here. One thing I wish I knew earlier: suspension travel matters more than power in cross country. A 500hp truck with stock suspension will lose to a 350hp truck with rally suspension every time on a jump-heavy course. Honestly the most fun for new players because everyone's bouncing off trees equally. Nobody looks good doing cross country, that's kind of the point.
SUVs & Trucks🏁 Street Scene
Night racing with civilian traffic. No barriers, no guardrails — one wrong move and you're wrapped around a Honda Civic. Payouts are bigger than road racing (about 30% more per event) but so is the risk. Some events disable rewind entirely, which is genuinely stressful when there's an NPC SUV changing lanes right at your braking point. Car recommendation: something with strong brakes and good visibility — the Porsche Cayman GT4 and Nissan GT-R are both excellent street scene cars. Pro tip: traffic cars follow predictable patterns. After a few runs you'll memorize where they spawn. The first run is always the hardest.
High RiskCar Classes — What Actually Matters (With Real Cars)
The class system looks complicated but it's really not. D through S2, lower number = slower car. That's basically it. What the game doesn't tell you is that most new players make the same mistake: they rush to S1 and S2 before building basic car control in the lower classes. You'll have way more fun — and win way more races — if you spend real time in B and A class first. Here's the breakdown with actual cars you should try.
Old, slow, charming. Perfect for learning tracks because you have time to think between corners. Most people skip D entirely — that's a mistake. D class teaches you racing lines and momentum conservation better than any other class because you can't just horsepower your way out of mistakes. Try the Datsun 510 or Morris Mini — both are dirt cheap on the auction house and honestly more fun than they have any right to be. I keep a D-class Mini in my garage purely for when I want to remind myself what clean racing feels like.
Early game workhorses. Fast enough to be fun, controllable enough to not wrap yourself around every tree. This is the best tier for learning manual shifting if you're switching from auto — cars are slow enough that you have time to think about gear changes but quick enough that you'll actually feel the difference. The Ford Escort RS Turbo and VW Golf R32 are standout C-class picks. The Escort in particular punches way above its PI rating on tight technical tracks where handling matters more than top speed.
The sweet spot honestly. I spend probably 40% of my time in B class even after hundreds of hours. Cars here are quick without being twitchy — you can actually race instead of fighting the car. The online B-class lobbies have the cleanest racing in the game because the cars are fast enough to be exciting but slow enough that dive-bombing doesn't work. Honda S2000 (AWD swapped), Mazda RX-7 FC, Toyota Supra MK3 — all phenomenal B-class builds. The S2000 with an AWD conversion is arguably the most well-rounded B-class car in FH6, competitive on road and dirt.
This is where things get serious. Cars reward actual skill but punish every little mistake — miss a braking point by 10 feet and you're in a ditch. Most online lobbies run A class, so get comfortable here if you want to race real people. The meta in A class is interesting: lightweight handling builds (Lotus Exige, BAC Mono) destroy on tight circuits, while power builds (Dodge Viper '08, Nissan GT-R) dominate on speed tracks. You need both. The BAC Mono is basically cheating on handling circuits — it corners like it's on rails but you'll get walked on any track with long straights.
Supercar territory. Things happen FAST. If your reaction time is measured in business days, stay in A class for a while. The jump from A to S1 is bigger than any other class transition — braking distances shrink by about 30-40% and corner entry speeds nearly double. Porsche 911 GT3 RS, McLaren 600LT, Ferrari 488 Pista — these are the S1 cars you'll see most often. The 911 GT3 RS is probably the most forgiving S1 car for someone moving up from A class — it's predictable at the limit in a way most S1 cars aren't.
Hypercars. Absolutely bonkers speed. Genuinely fun to just rip around in free roam — the sense of speed is unmatched. But racing these things is a different skill entirely. I still bin it on the first hairpin about 40% of the time and I've been playing this series for years. Koenigsegg Jesko, Bugatti Chiron, Rimac Nevera — these are the S2 kings. The Rimac in particular is almost unfair with its instant electric torque. My advice: enjoy S2 in free roam and solo races, but don't take it online until you can consistently finish A-class races without rewinding. The skill gap in S2 lobbies is genuinely intimidating.
The Goliath — Your Money Printer (With Real Numbers)
The Goliath is the most famous race in Forza Horizon. It's a lap around the entire map — roughly 40km of road, dirt, and everything in between. Everyone talks about it. But here's what the YouTube videos don't tell you: the Goliath is only worth farming if you're doing it in the right car with the right setup. A bad Goliath run wastes 12 minutes for pocket change. A good one prints credits.
I've run the Goliath over 200 times across FH5 and FH6. Here's the actual data:
| Car | Class | Approx. Cost | Avg Lap Time | Credits / Run | Credits / Hour | Best For |
|---|---|---|---|---|---|---|
| BAC Mono (tuned) | A (800) | ~180K CR | 9:45 | ~42K | ~258K | Best early-game Goliath car — cheap, handles perfectly, competitive even in S1 lobbies on handling tracks |
| Lamborghini Sesto Elemento | S2 (998) | ~2.5M CR (Auction) | 8:12 | ~55K | ~403K | The meta Goliath car — insane grip, barely needs to brake. If you can afford one, this is the answer |
| Koenigsegg Jesko | S2 (997) | ~2.8M CR (Autoshow) | 7:58 | ~56K | ~422K | Fastest raw lap — but harder to drive clean than the Sesto. One mistake costs 10-15 seconds |
| Ferrari F40 Competizione | S2 (985) | ~3M CR (Auction) | 8:35 | ~53K | ~370K | Easier to drive than the Jesko, almost as fast. Good middle ground if the Sesto is out of budget |
| Audi RS6 Avant (off-road tune) | S1 (870) | ~120K CR | 11:20 | ~38K | ~201K | Budget Goliath option. Handles dirt sections better than any supercar. Slow on pavement but never spins |
Here's the strategy that most guides miss: don't grind the Goliath endlessly, it'll burn you out. Run it 3 times per session max. Your brain checks out after the third lap and your times get worse — which means your credits-per-hour actually drops. Three clean laps in the Sesto Elemento nets you about 165K in under 25 minutes. Do that, then go do something fun. Come back tomorrow. Consistency beats marathon grinding every time.
Goliath earnings per budget tier (3-lap session, ~25min):
- Premium tier (Sesto / Jesko): ~160-170K per session / ~400K per hour — requires 2-3M upfront investment
- Mid tier (F40 / S1 builds): ~140-155K per session / ~350K per hour — requires 120K-3M upfront
- 🆕 Budget tier (BAC Mono / RS6): ~115-125K per session / ~250K per hour — accessible to anyone past the first 3 hours
How to Actually Make Money (Without Losing Your Mind)
Money in FH6 — everyone wants it, nobody wants to grind 50 Goliath laps for it. Here's the thing: the game has about 7 different ways to make credits and most players only use 2 of them. The Goliath gets all the YouTube attention but honestly the auction house is where the real money lives. And wheelspins are way more powerful than people realize if you know how to game the system. Here's what actually works, ranked by efficiency.
| Method | Credits / Hour | Difficulty | Best For |
|---|---|---|---|
| Auction House Trading | ~1M+ | Hard | Experienced players |
| Goliath Circuit | ~400K | Medium | Mid-game farming |
| Wheelspin Flipping | ~250K | Easy | Early game |
| Seasonal Events | ~200K | Varies | Weekly rewards |
| Story Missions | ~150K | Easy | New players |
Quick note on auction house flipping — this is where you can make stupid money but it requires patience. The play is simple: buy Festival Playlist exclusive cars the week they drop (everyone's selling them cheap because supply is high), hold for 3-4 weeks, then sell when they're no longer available. I've made 8-figure profits on single cars doing this. The Porsche 911 GT3 RS 2023 from the FH5 playlist went from 300K at launch to 20M within two months. Same pattern repeats in FH6. Check the auction house every Thursday when new playlist cars drop — that's your buy window.
Stuff I Did Wrong So You Don't Have To
Look, I'm not gonna pretend I played perfectly. I made every mistake in the book and some that probably aren't even in the book. Here's the real stuff I messed up, not the generic "don't spend all your money" advice you've read a hundred times.
- Bought a McLaren Senna for 1.2M in FH5 thinking it'd carry me through everything. Drove it for maybe 45 minutes total before realizing a hypercar is worthless on dirt, cross country, and most street scene events. It sat in my garage gathering virtual dust for months. Now I keep a spreadsheet — yes, an actual spreadsheet — of which car I use for each surface. A balanced garage of 6-8 cars covering all race types beats one trophy car every time. You need minimum: 2 road cars (one handling, one speed), 1 rally car, 1 off-road truck, 1 street scene car, and 1 drift car. Six cars. That's it. Everything else is just for fun.
- Left all assists on for my first 30 hours because I was scared of being slow without them. Traction control and stability control are training wheels — useful at first, but they actively reduce your credit earnings because the difficulty bonus gets gutted. Here's the thing nobody told me: turning off TC and SC doesn't just give you more credits, it actually makes you faster once you adjust. The game's traction control is conservative — it cuts power earlier than a skilled driver would. Turn them off one at a time. Start with stability control (it's the less noticeable one), drive for 2-3 hours, then kill traction control. Your lap times will drop by 1-2 seconds per minute of track time just from not having the computer intervene.
- Rewind addiction is real and it ruined my first 50 hours of learning. I was rewinding every single corner I missed. Every. Single. One. You know what happens? You never learn the corner. You just learn that rewind exists. I plateaued hard at around hour 40 because I'd built zero muscle memory for any track. Here's what fixed it: I set a personal rule of 3 rewinds per race maximum. If I used all 3, I finished the race and accepted the result. Within about 5 hours of this rule my lap times improved more than the previous 40 hours combined. Your brain learns differently when it knows there's no undo button.
- Ignored the Festival Playlist for over a month in FH5 because I thought it was "side content I'd get to later." Missed a Porsche 911 GT3 that sold for 20M on the auction house a few weeks later. Missed a Lamborghini SVJ that never came back. I calculated it: I lost about 35-40 million credits worth of exclusive cars in that month just by not checking the playlist. Now I check it every Thursday at 7:30AM PT when it resets. Takes 5 minutes. The playlist isn't side content — it's literally the main content pipeline for rare cars. Treat it like a weekly login bonus from an MMO, because that's basically what it is.
8-Step FH6 Quick Start Checklist
- Pick your first car — go AWD. The Lancer Evo IX MR and Subaru WRX STI both come with AWD stock. They grip every surface and are competitive in A class. RWD starters like the Mustang will make your first dirt race miserable. Trust me on this one.
- Clear all 5 showcase events before doing anything else. Each drops a free car, and combined they're worth roughly 1 million credits. Rush through the intro races, unlock the first Horizon site, then immediately do every showcase on your map. Don't get sidetracked by the 50 other icons that appear — showcases first, everything else later.
- Buy the Buenas Vistas house (2M CR) as your first big purchase. It unlocks fast travel anywhere on the map. Until you can afford it, smash every fast travel board you see — each one reduces the fast travel cost permanently. With all boards smashed, fast travel becomes completely free even without the house. There are 50 fast travel boards on the map; find at least 30 before you buy the house.
- Don't spend credits on cars for the first 10 hours. Between wheelspins, showcases, barn finds, and festival unlocks, I counted 23 cars before I spent a single credit in my FH6 playthrough. Save for houses (they unlock wheelspins and perks) and for auction house flipping later. The only exception: buy the Silvia K's 1989 for 35K to open up drift zones.
- Learn one race type at a time. Start with road racing (grip builds, AWD), then move to dirt (rally tires + AWD), then cross country (high suspension + big tires). Street scene comes last — it requires the most car control and the traffic adds an extra layer of difficulty. Avoid drifting and drag racing until you're comfortable with basic racing lines.
- Check the Festival Playlist every Thursday. Exclusive cars, wheelspins, Forzathon points. Set a phone reminder. Exclusive playlist cars often sell for 10-20M credits on the auction house 3-6 weeks after they're gone. Missing a week can cost you millions.
- Turn off stability control first, then traction control. SC off gives you ~10% more credits per race. TC off adds another ~10-15%. Together they nearly double your credit earnings from difficulty bonus alone. Keep ABS on — it barely affects your bonus and most pro players keep it on too. Switch to manual shifting once you understand gear ratios (usually around hour 15-20).
- Join a convoy for co-op races. Same credits as solo, way less pressure, and convoy members help with seasonal objectives. The FH6 community is surprisingly welcoming to new players — just say you're new and people will usually help. Convoy races also give you a chance to try other people's tuned cars via the "drive teammate's car" feature.
8-Step FH6 Quick Start — Step by Step
| Step # | Action | Why It Matters | Time Needed |
|---|---|---|---|
| 1 | Pick your starter car — go AWD | AWD grips all surfaces while you learn. Lancer Evo IX and WRX STI are forgiving and fast enough for early races. RWD is a trap for new players on dirt. | ~5 min |
| 2 | Rush all 5 showcase events | Each showcase drops a free car worth 80K-200K. Combined value is roughly 1 million credits for 40 minutes of gameplay. | ~40 min |
| 3 | Buy the Silvia K's 1989 (35K credits) | Best early drift car for the money. Cheap, controllable, and opens up drift zones for easy skill points and XP farming. Pays for itself in 10 minutes. | ~5 min |
| 4 | Unlock the first house for garage space | Early houses give garage slots, wheelspins, and sometimes fast travel perks. Casa de Campo (75K) is the best first house — cheapest with wheelspin bonus. | ~15 min |
| 5 | Complete the first Festival Playlist event | Exclusive cars and Forzathon points you can't get anywhere else. Miss a week and that reward car might be gone for months. New playlist drops every Thursday. | ~20 min |
| 6 | Smash every XP and fast travel board | XP boards give 5K XP each (200 total = 1M free XP). Fast travel boards reduce travel cost — 50 smashed = free fast travel. Do this passively as you drive around. | Ongoing |
| 7 | Turn off stability control, then traction control | Assists gut your credit bonus. SC off = +10%, TC off = +15% more. Combined they nearly double your earnings per race. Turn them off over 2-3 sessions. | 2-3 sessions |
| 8 | Join a convoy for co-op races | Same credits as solo, way less pressure. Convoy members help with seasonal objectives. You can even test-drive other players' tuned cars during co-op sessions. | ~5 min |
Recommended Reading
Every money-making method ranked — auction house strategies, Goliath optimization, wheelspin flipping, and seasonal events. Complete Tuning Guide
Tire pressure, gearing, camber, differential — every setting explained with class-specific tuning tables. Best Starter Cars
Top picks for every budget and race type — road, dirt, cross country, and street scene with prices and PI ratings. Festival Playlist Guide
Weekly rewards, exclusive cars, Forzathon points — don't miss another seasonal drop. Updated every Thursday. Fast Travel Guide
All 50 fast travel board locations, house unlocks, and how to get completely free fast travel anywhere.